Modding a PSone to Play Homebrew, Imports, and Backups
Published: June 27, 2020
Disclaimer: I don't condone piracy. Don't be evil.
Recently I picked up a 14" PVM that had some minor geometry issues, so naturally I needed to fix it. For the uninitiated 240p test suite is the de facto standard for calibration. The software has been ported to various home consoles including the Genesis, SNES, Dreamcast, and Wii. The Wii port is by far the most prevalent, since softmodding a Wii is trivial. This brings us to my first dilemma, my Wii is in storage and I don't own the latter. Fast forward to a few days ago, I discovered a PS1 port of 240p test suite exists. This brings us to my second dilemma, the PS1 has a form of DRM that prevents playback of unauthorized discs, this includes homebrew. Now I've known for years you could trick the playstation into playing backups by swapping out discs while it's running. However this isn't an elegant solution for long term; installing a modchip was my only option. There are a handful of modchips available on the open market I opted for a MM3 modchip due to it's sheer abdudance and wide compatability.
I ended up purchasing my modchip from William Quade. I could've definitely found one for cheaper or even flashed my own PIC12C508A, however I like to support smaller operations like his. The documentation provided on his site is second to none. Some people prefer videos, however I strongly prefer written documentation, as it's much easier to go back and reference.
Disassembly
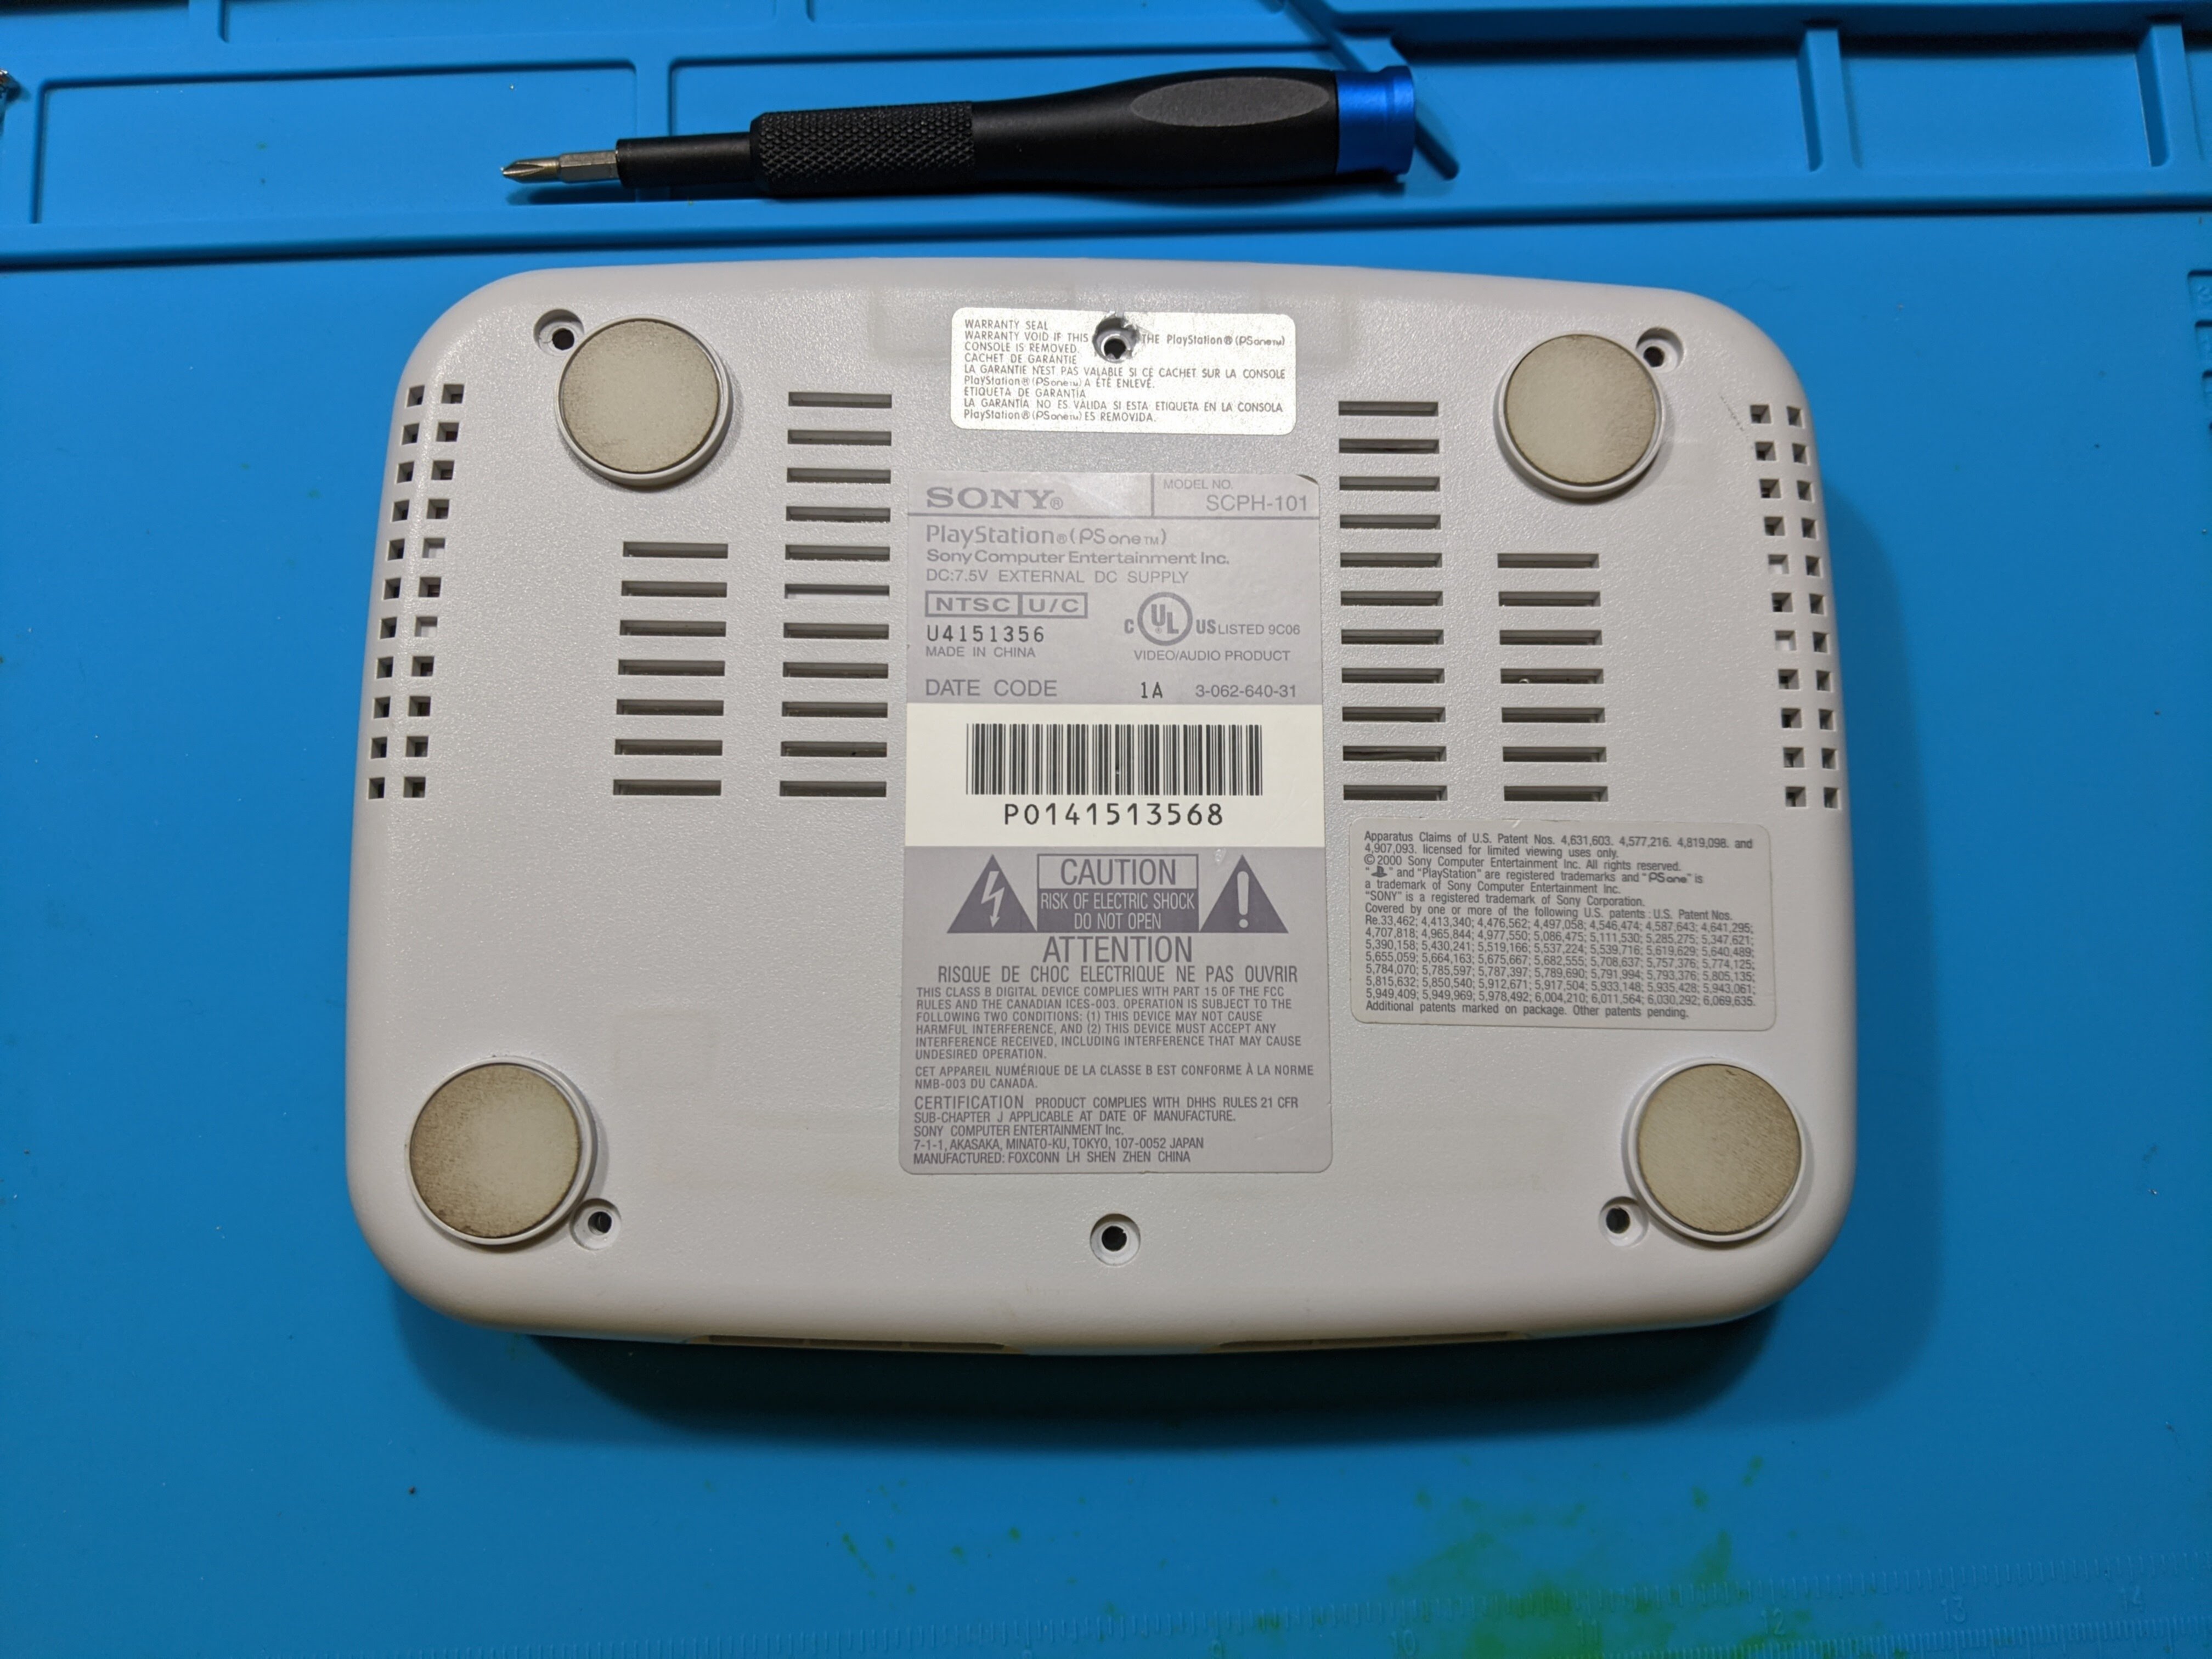 The SCPH-101 is comically easy to remove. It's held together with 6 readily accessible philips screws.
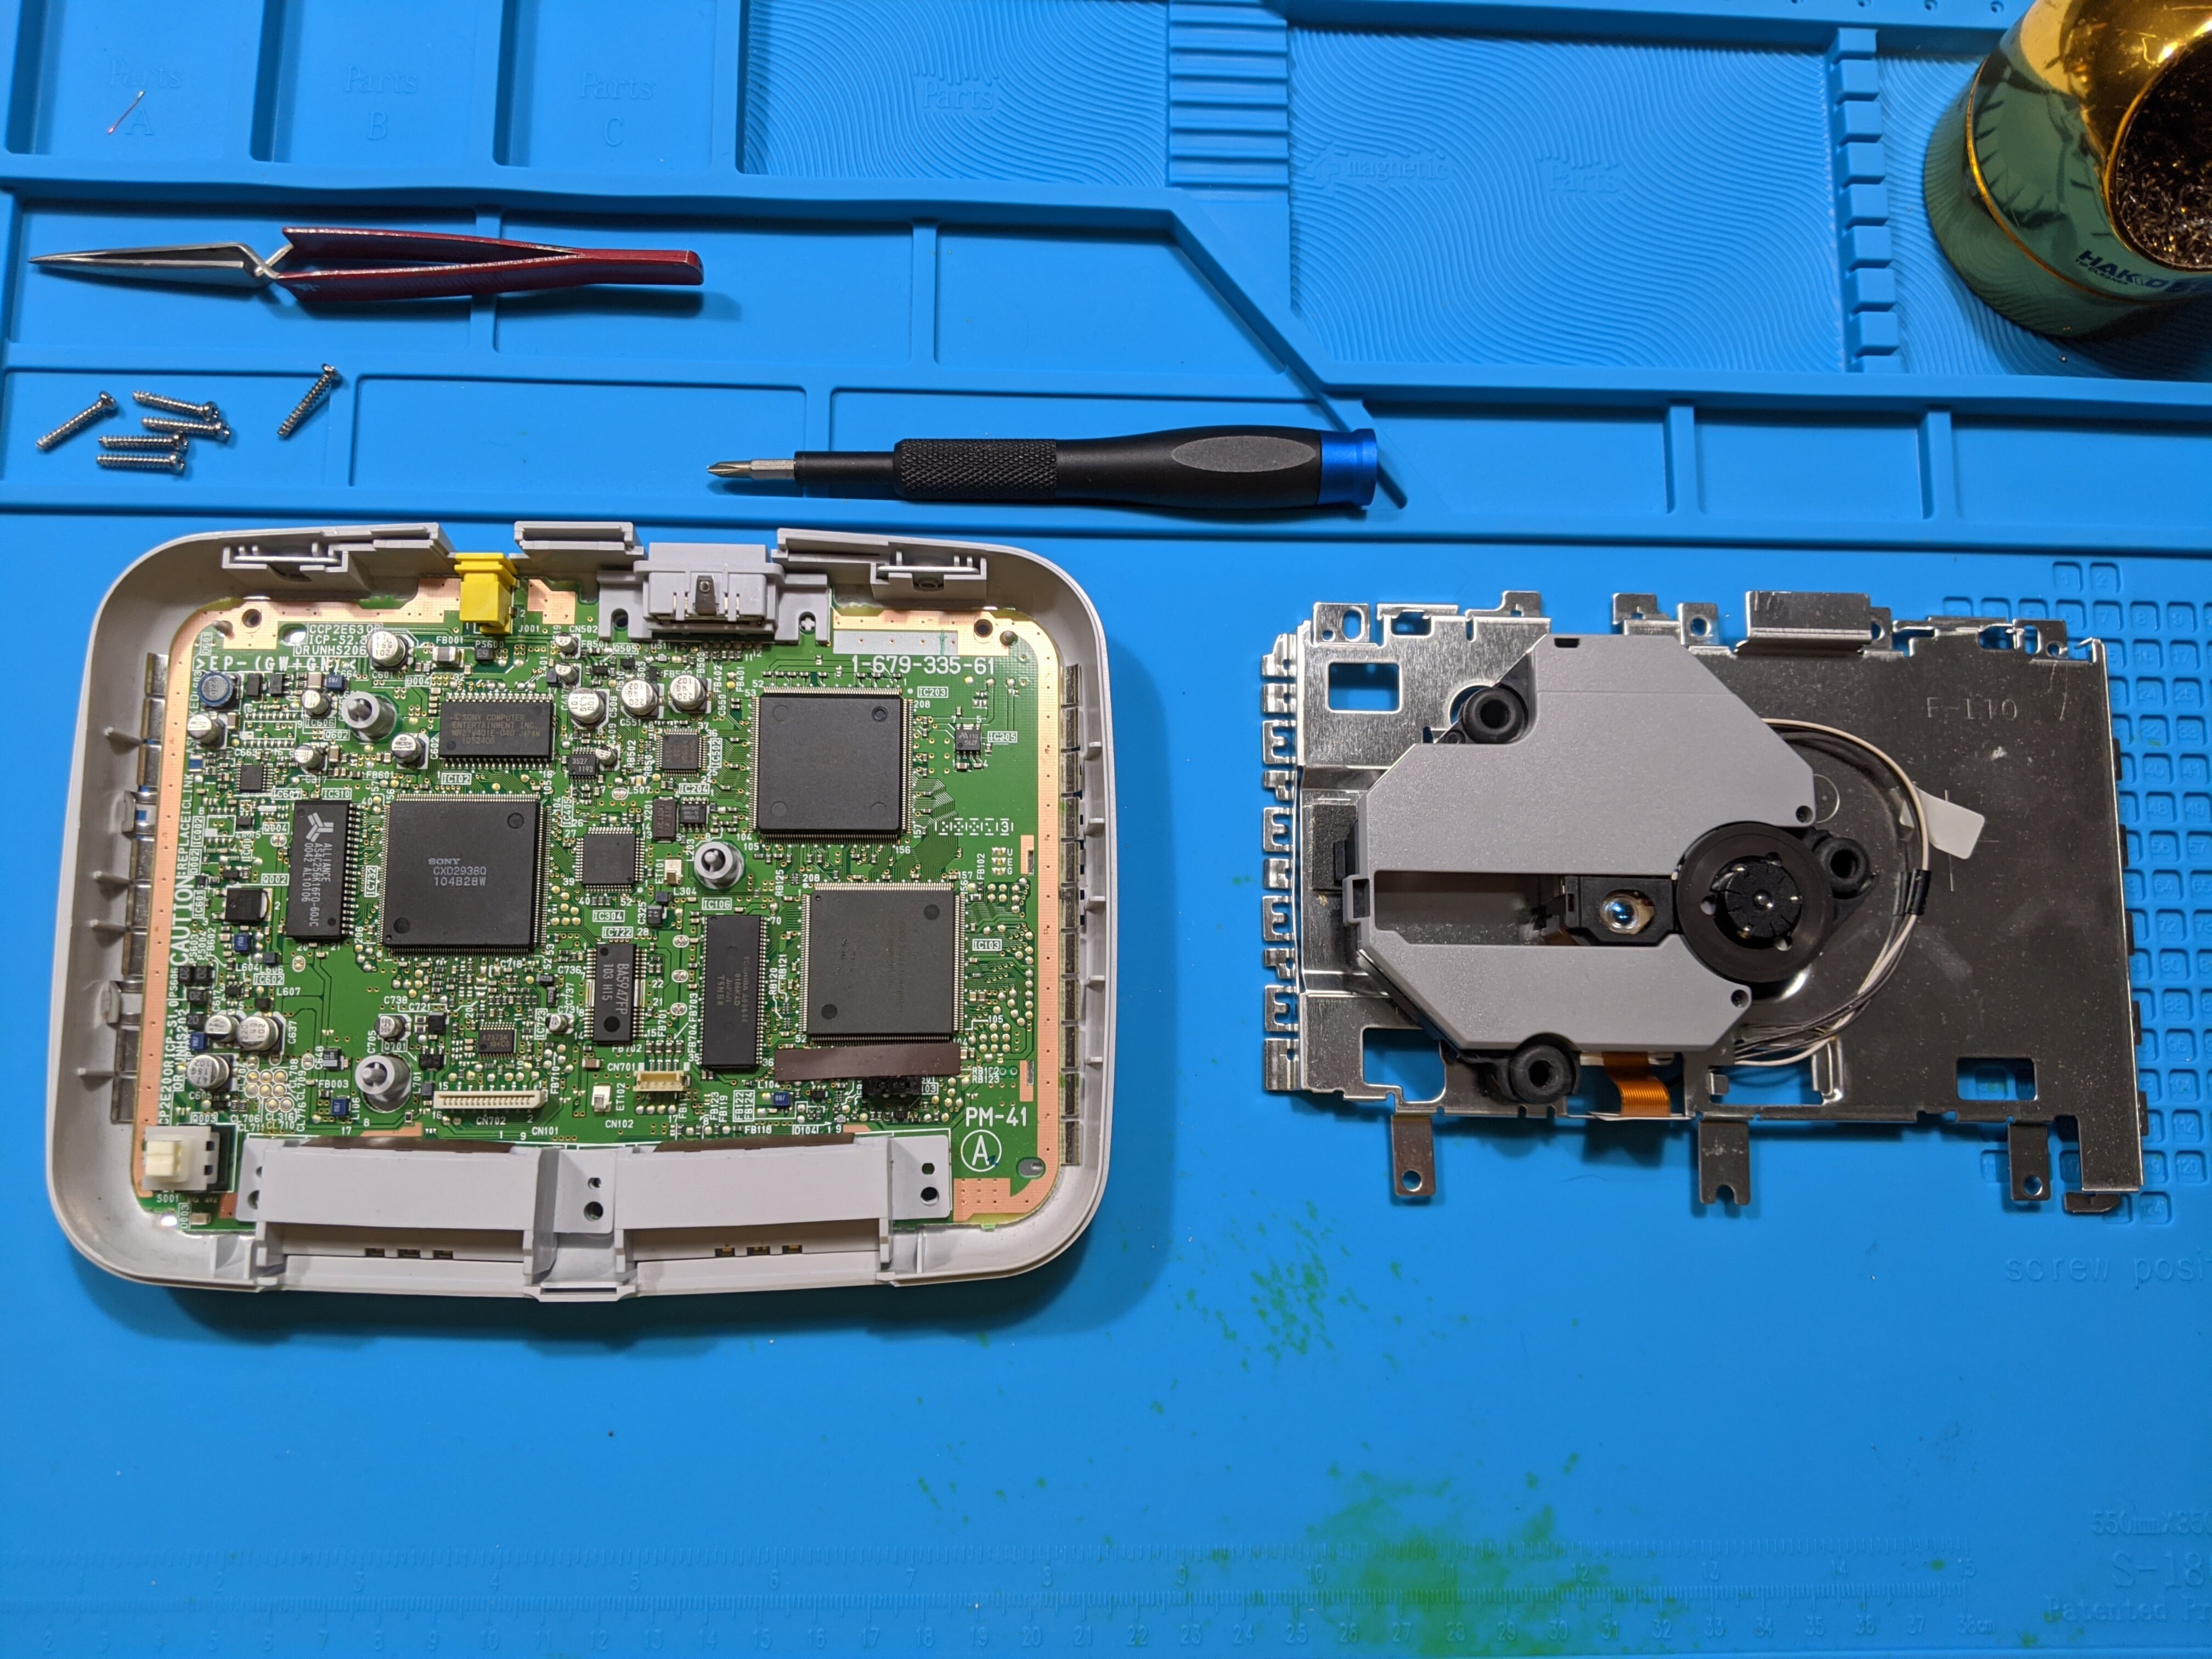 The laser assembly lifts up effortlessly. You'll need to detach the ribbon cable and power from the main board.
Installation
Quade's documentation proved invaluable. You can find the full write up here.
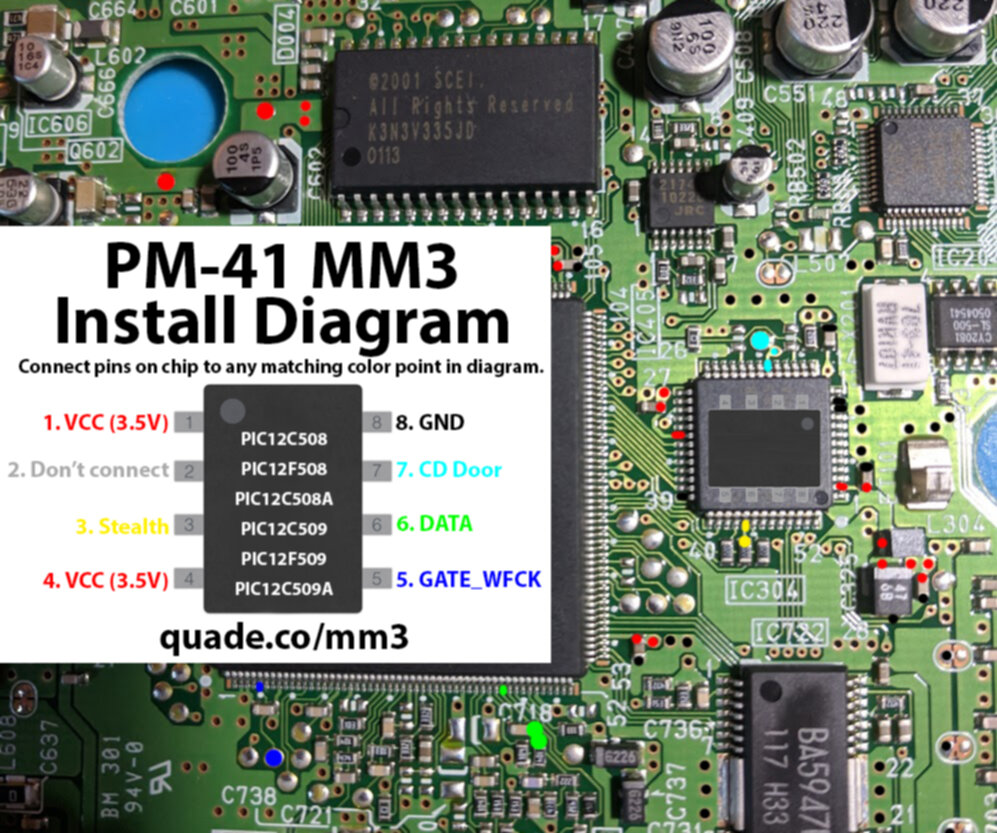 We must connect the
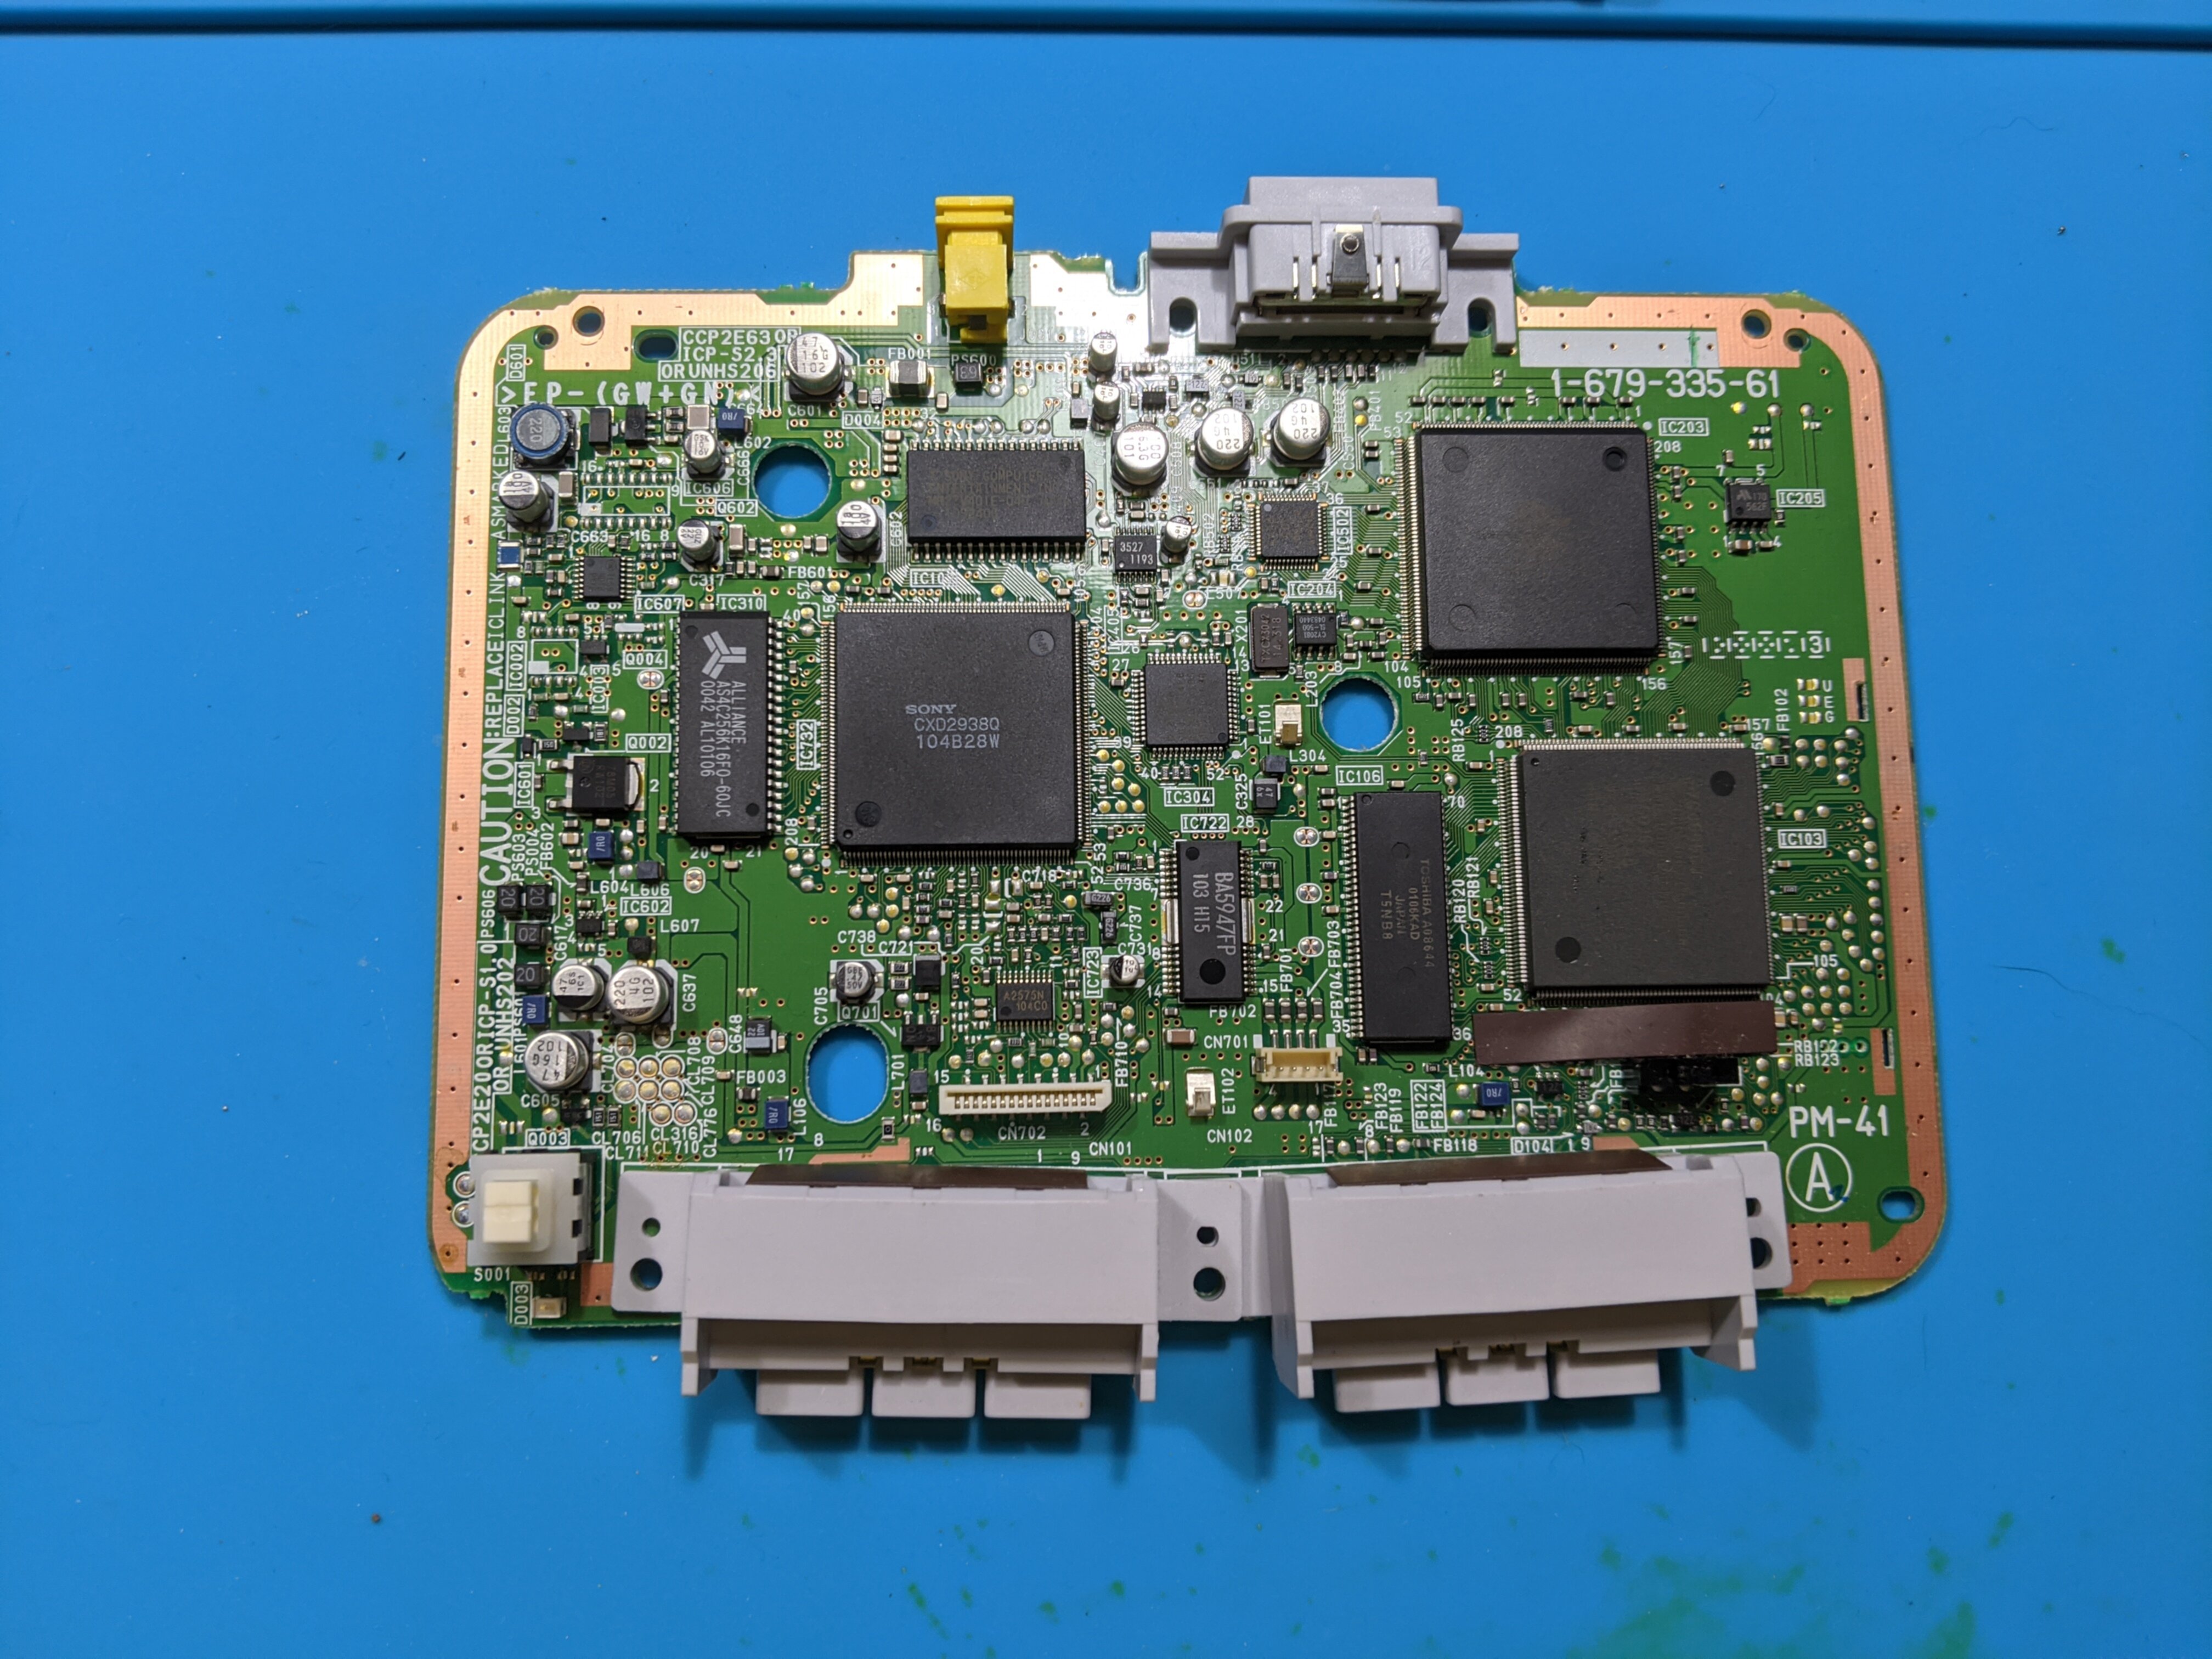
 PIC12C508 to various traces on the PSone motherboard. The soldering varies in difficulty, for a handful of connections we can "cheat" a little bit and attach the bodge wires directly to the SMD components.
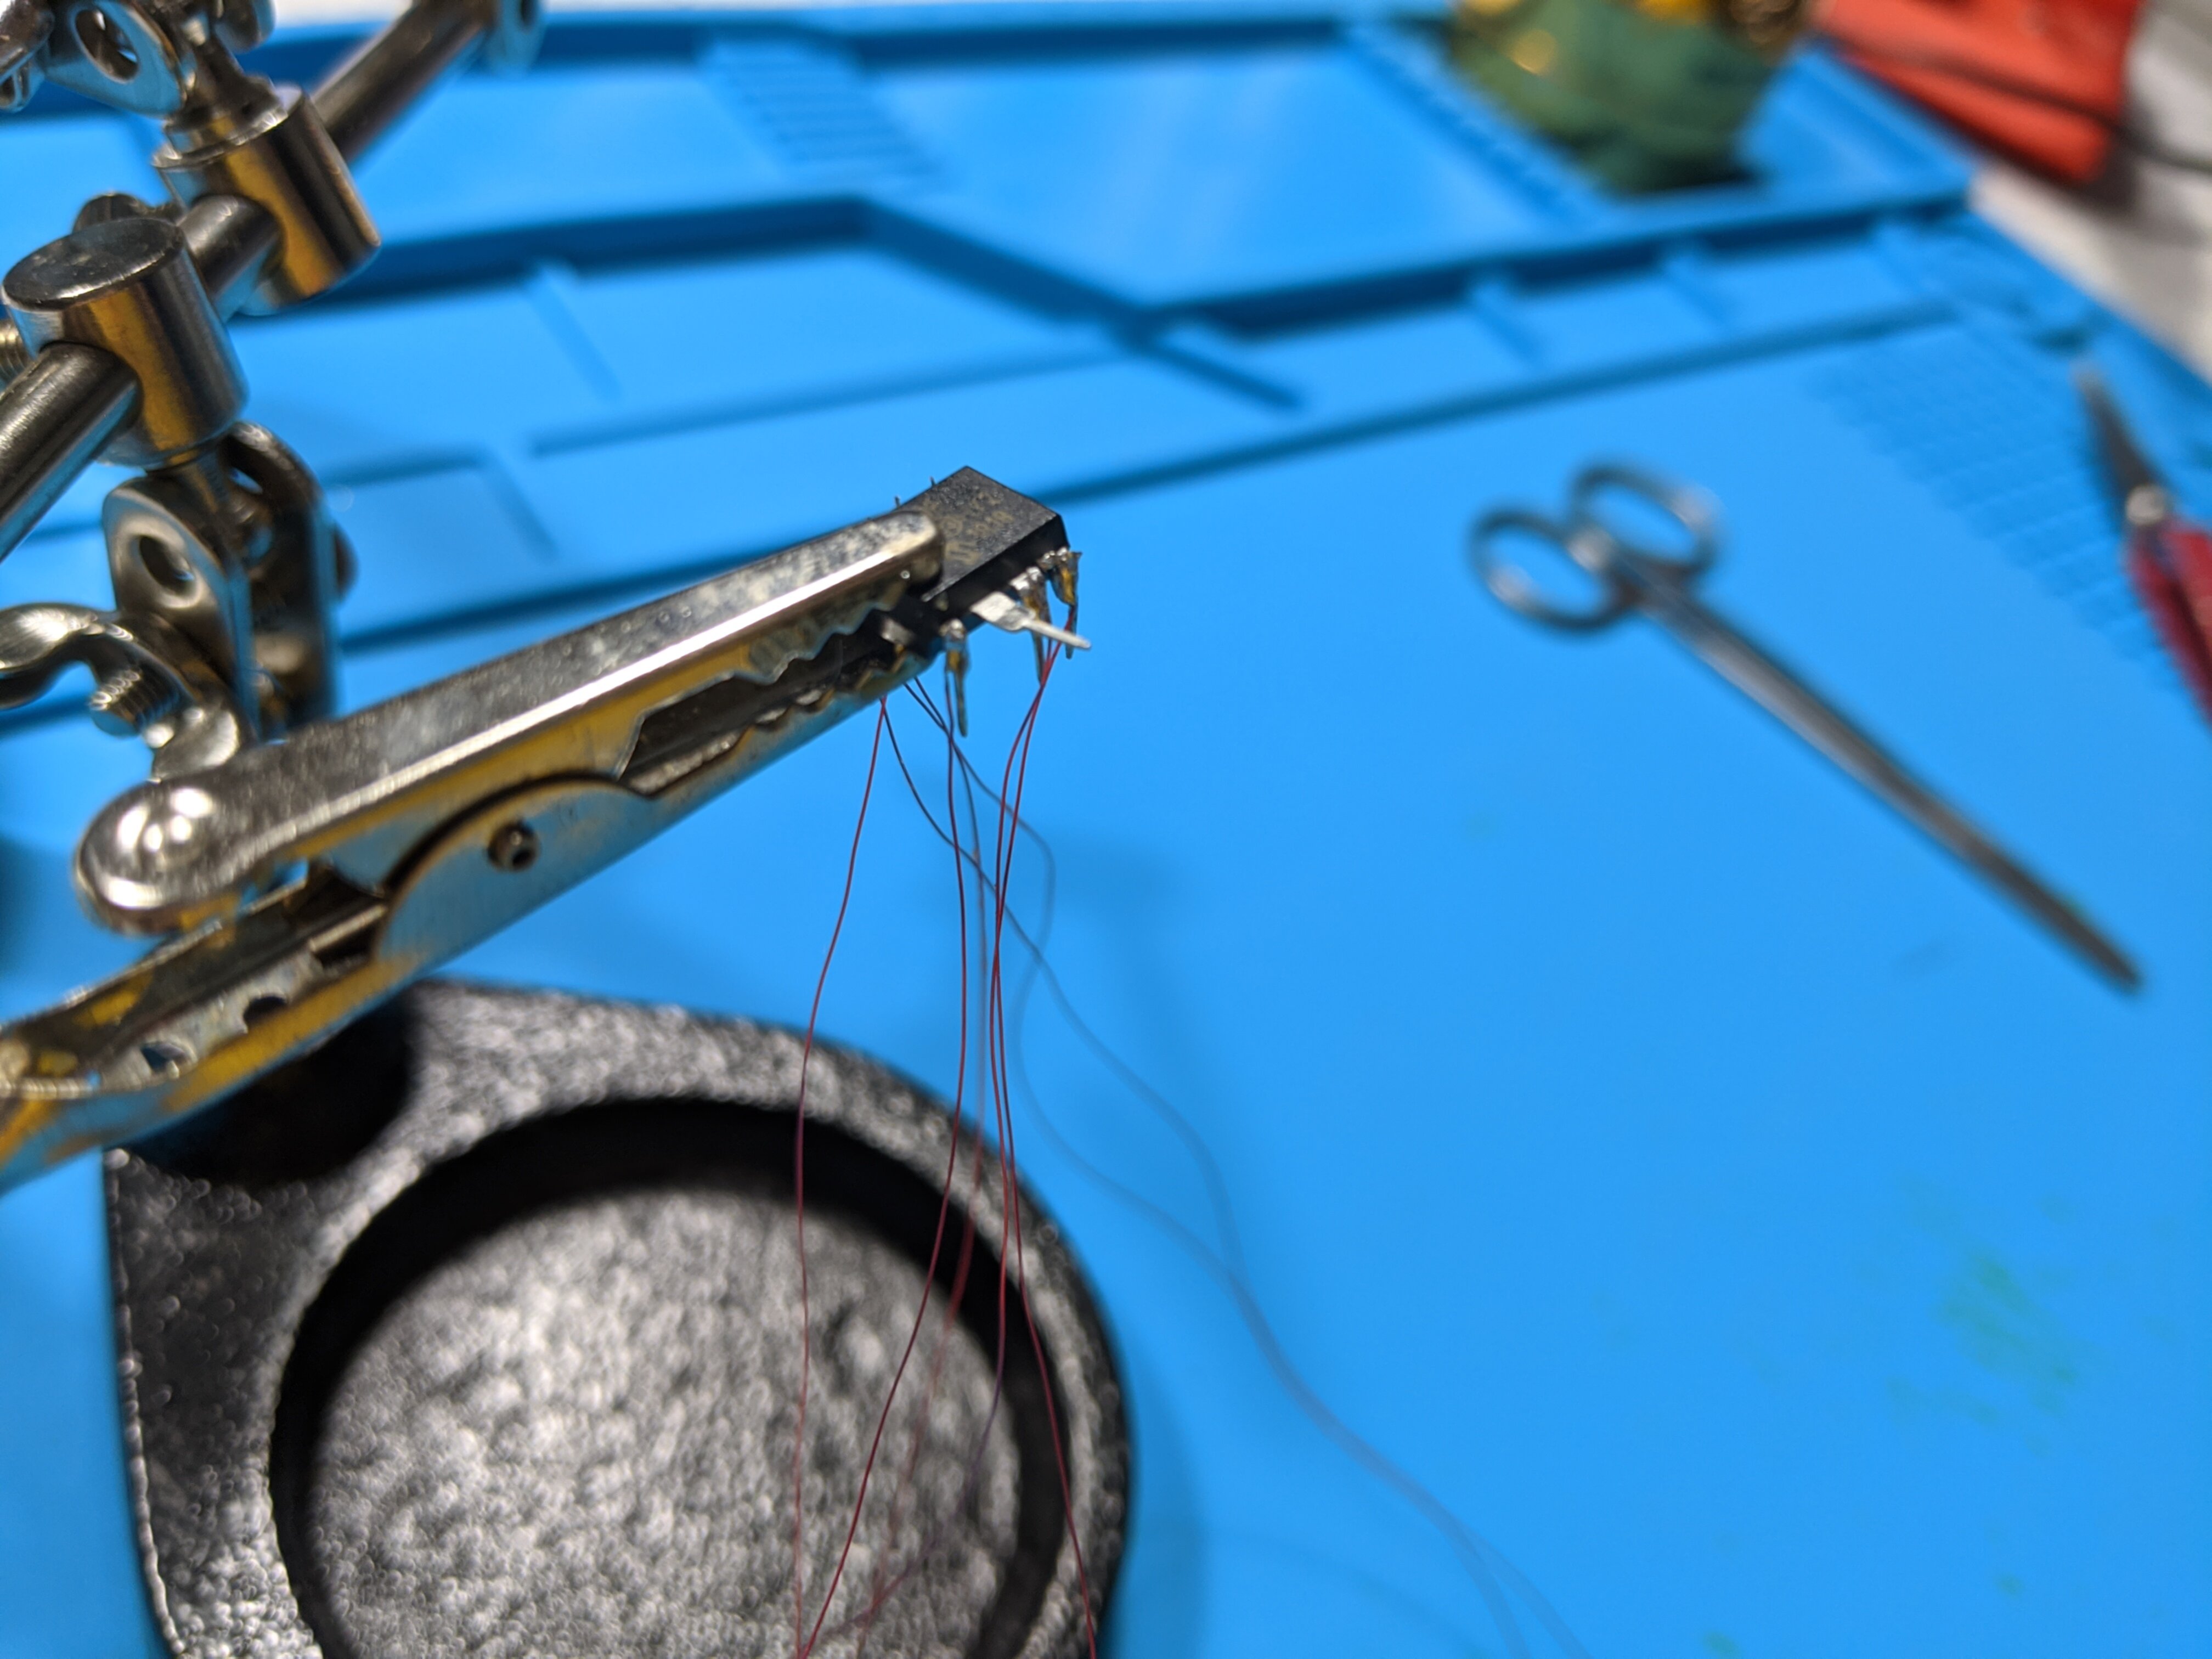 I chose to use 32 gauge magnet wire since that's what I had layaround.
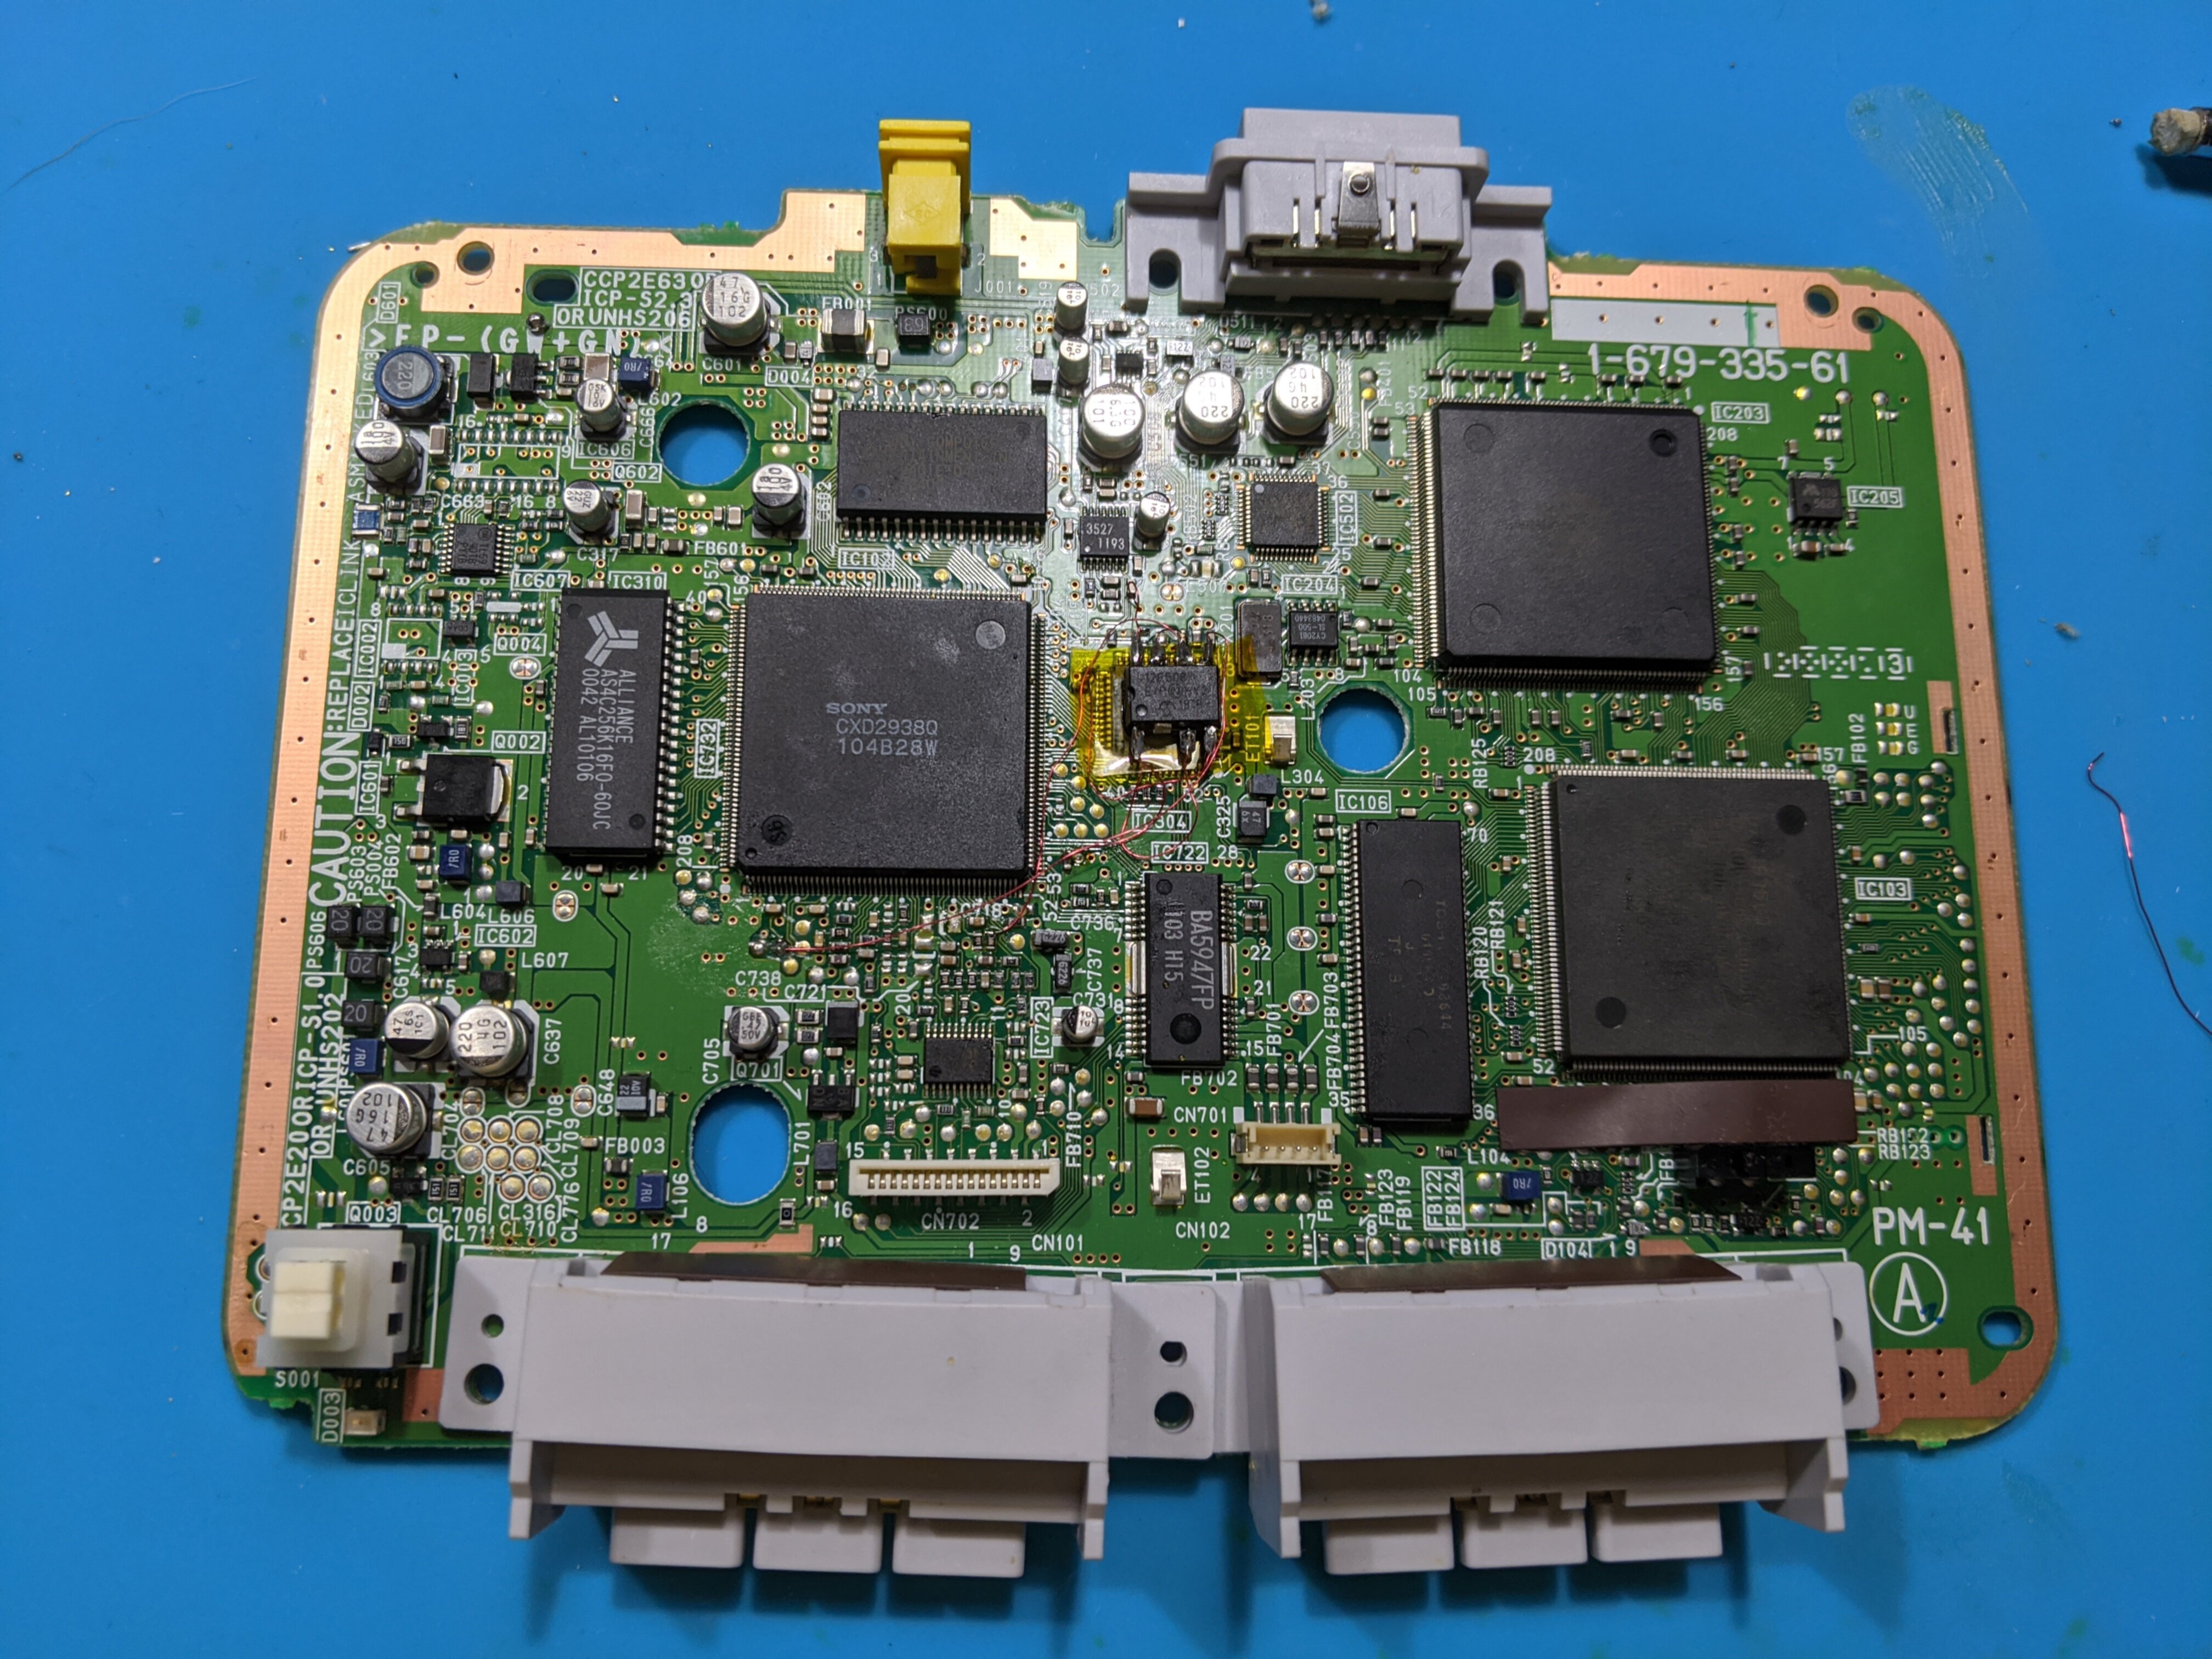 When routing the wires it's important to make the runs as short as possible (within reason). The shorter the distance data has to travel the better. The longer runs are more susceptible to interference/corruption.
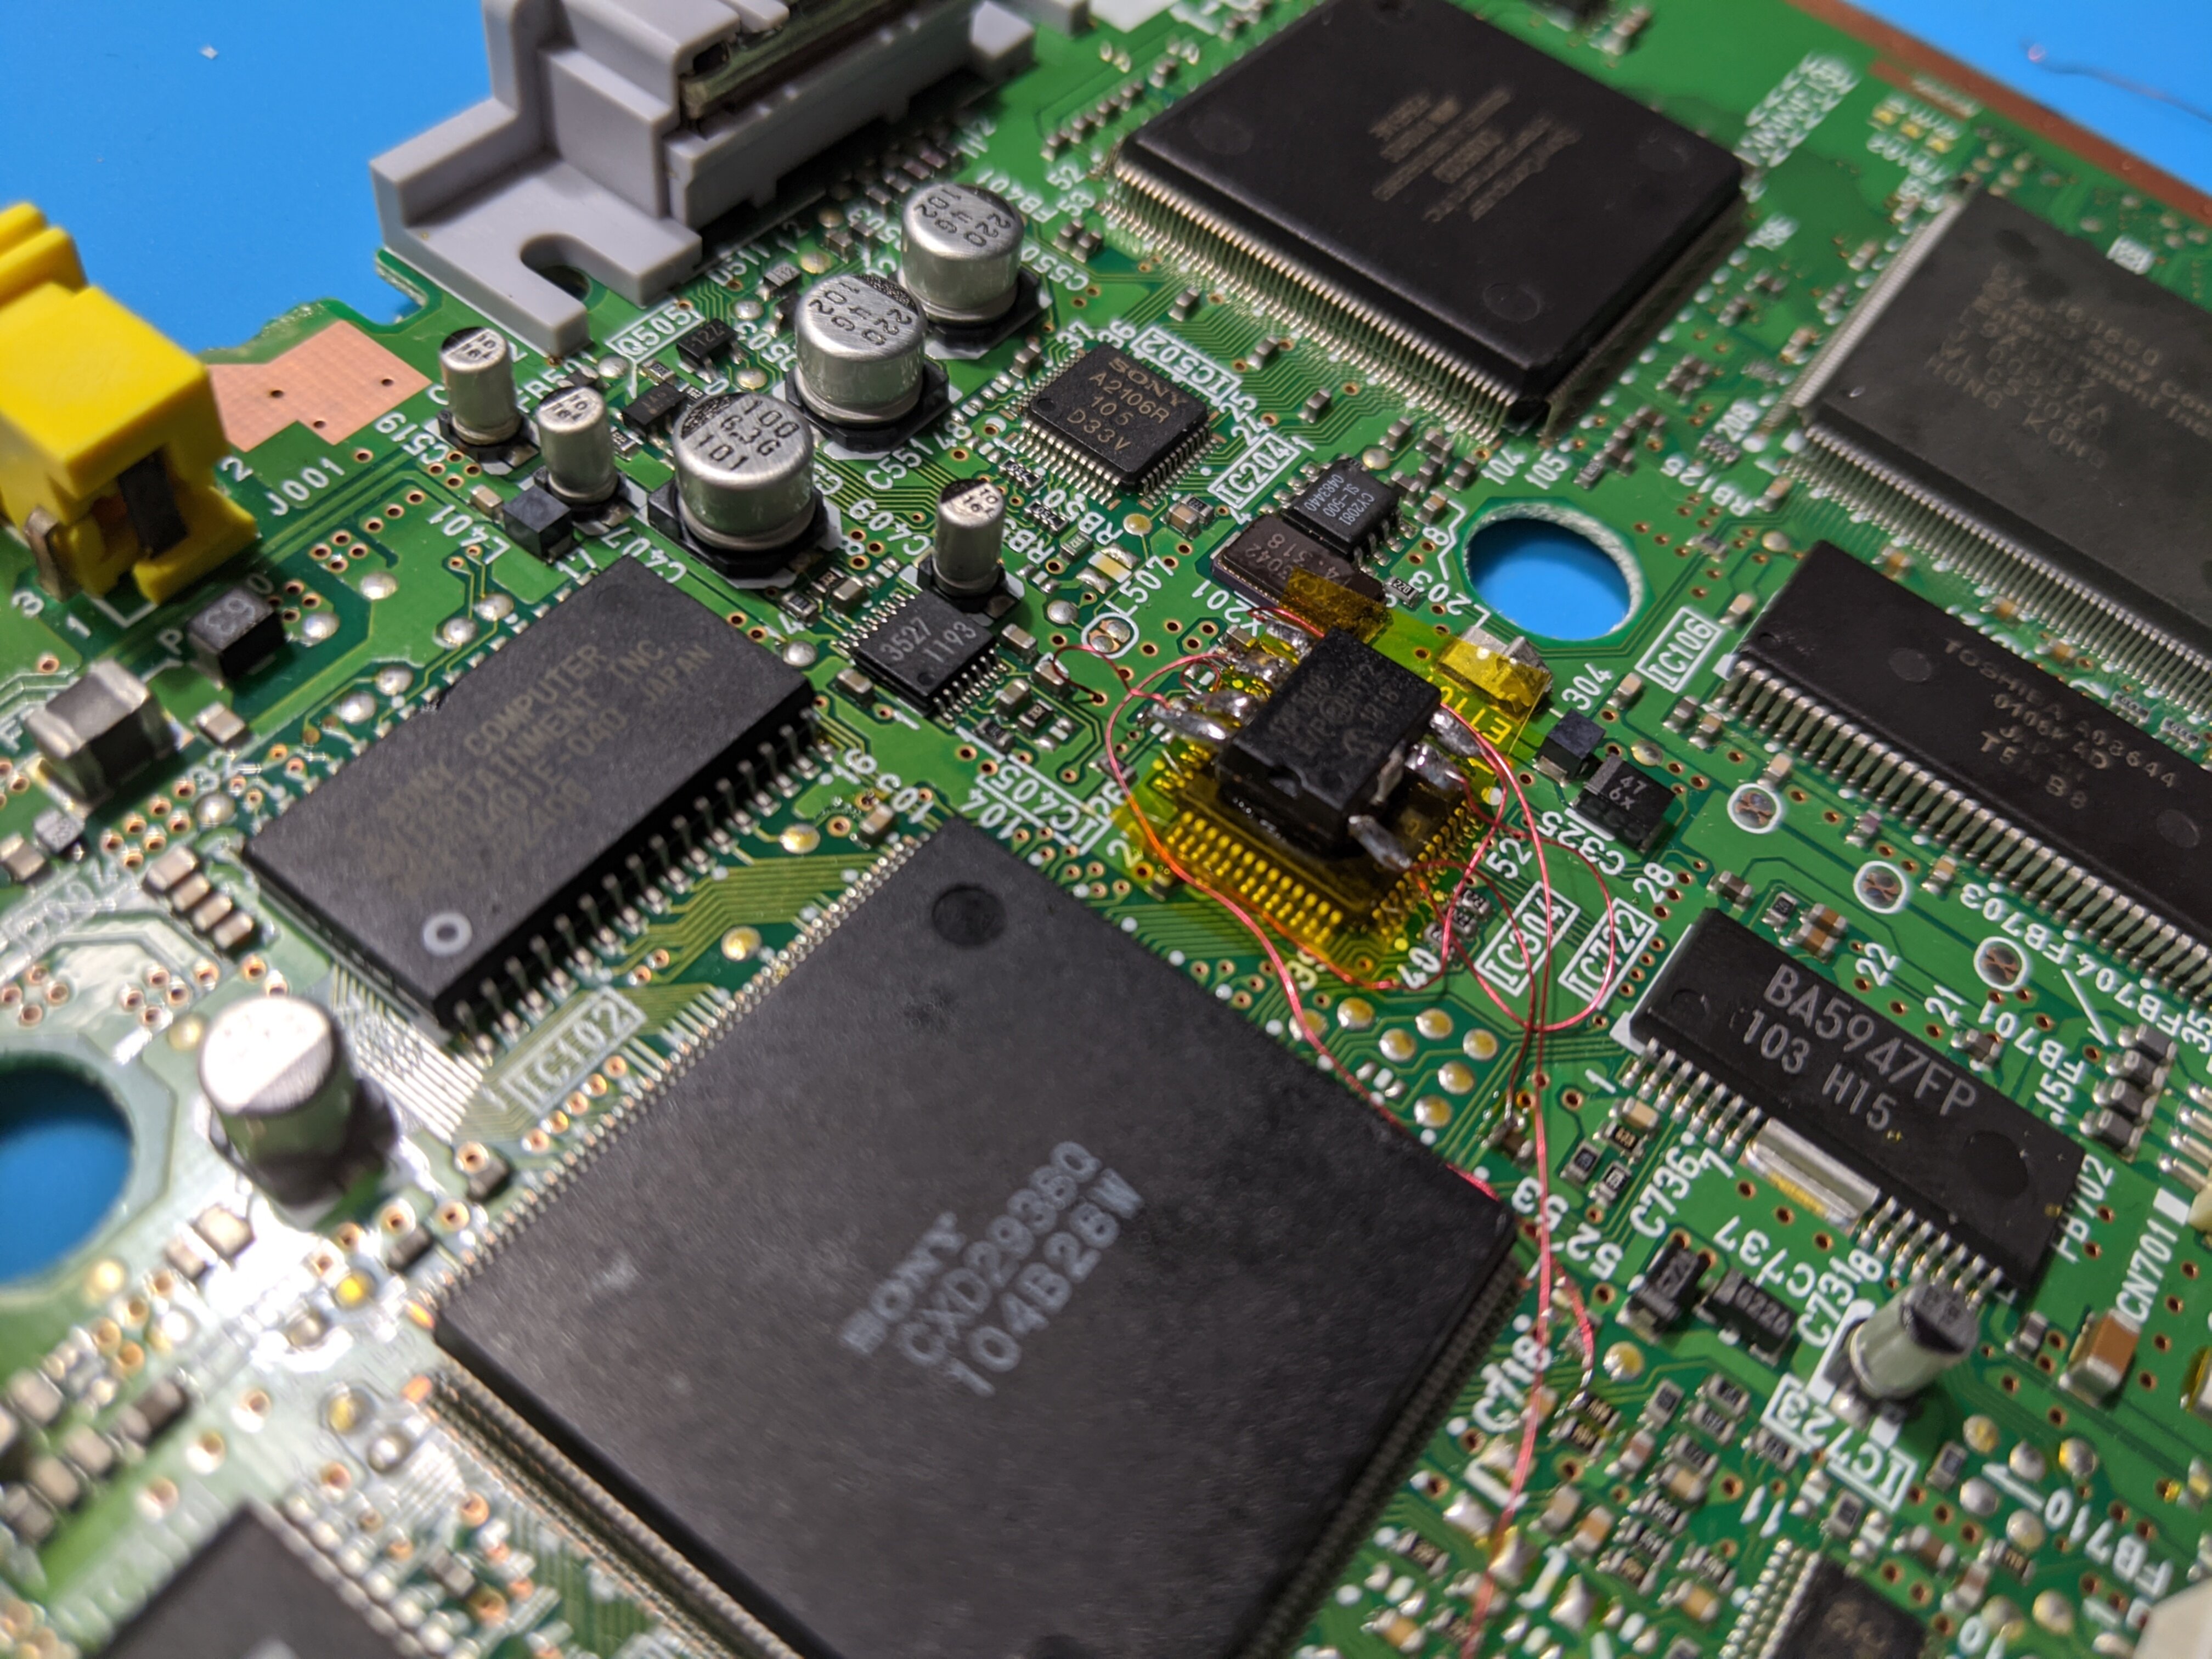 My cable management could use some work. In retrospect I should've fished the longer wires under the pins of the
 CXD2938Q. I was primarily focused on making sure all my soldering joints were clean. I'm no stranger to soldering SMD components by hand, that said working on a 25 year old pcb is a first for me. I learned quickly how important it is to reflow exisiting joints with new solder before adding botch wires.
At last, I can play homebrew and backups. So why did I go through all this trouble when I could've just downloaded an emulator? Simple, nostalgia is hell of a drug.
Managing Your Backups
When discussing modding the PS1 I think it's important to discuss backups, as it's one of many legal use-cases.
Linux
The following examples presume package cdrdao is installed.
Determine your optical drive
cdrdao scanbus
Note: The following examples presume /dev/sr0
Unmount optical drive
umount /dev/sr0
Archive
Create .bin and .toc
_game="bubsy"; cdrdao read-cd --read-raw --datafile "${_game}.bin" --device /dev/sr0 --driver generic-mmc-raw "${_game}.toc"
Note: Some instructions floating around the internet suggest passing in --read-subchan rw_raw. This rendered my backups unbootable. For more context man cdrdao
Generate .cue from .toc
toc2cue "${_game}.toc" "${_game}.cue"
Restore
You have to options. You can either use the .cue or .tos. It's nice to have options.
Burn from .cue
_game="bubsy"; cdrdao write --device /dev/sr0 "${_game}.cue"
Burn from .tos
_game="bubsy"; cdrdao write --device /dev/sr0 "${_game}.tos"
Note: The .cue and .tos files reference the relative path of the .bin. Be sure both paths exist in the working directory.
Tags: hardware console-modding