Installing a NVMe SSD in the PineBook Pro
Published: June 23, 2020
I recently picked up the PineBook Pro, and a NVMe adapter (V2-2019-1107). In this post I'll go over how to install it.
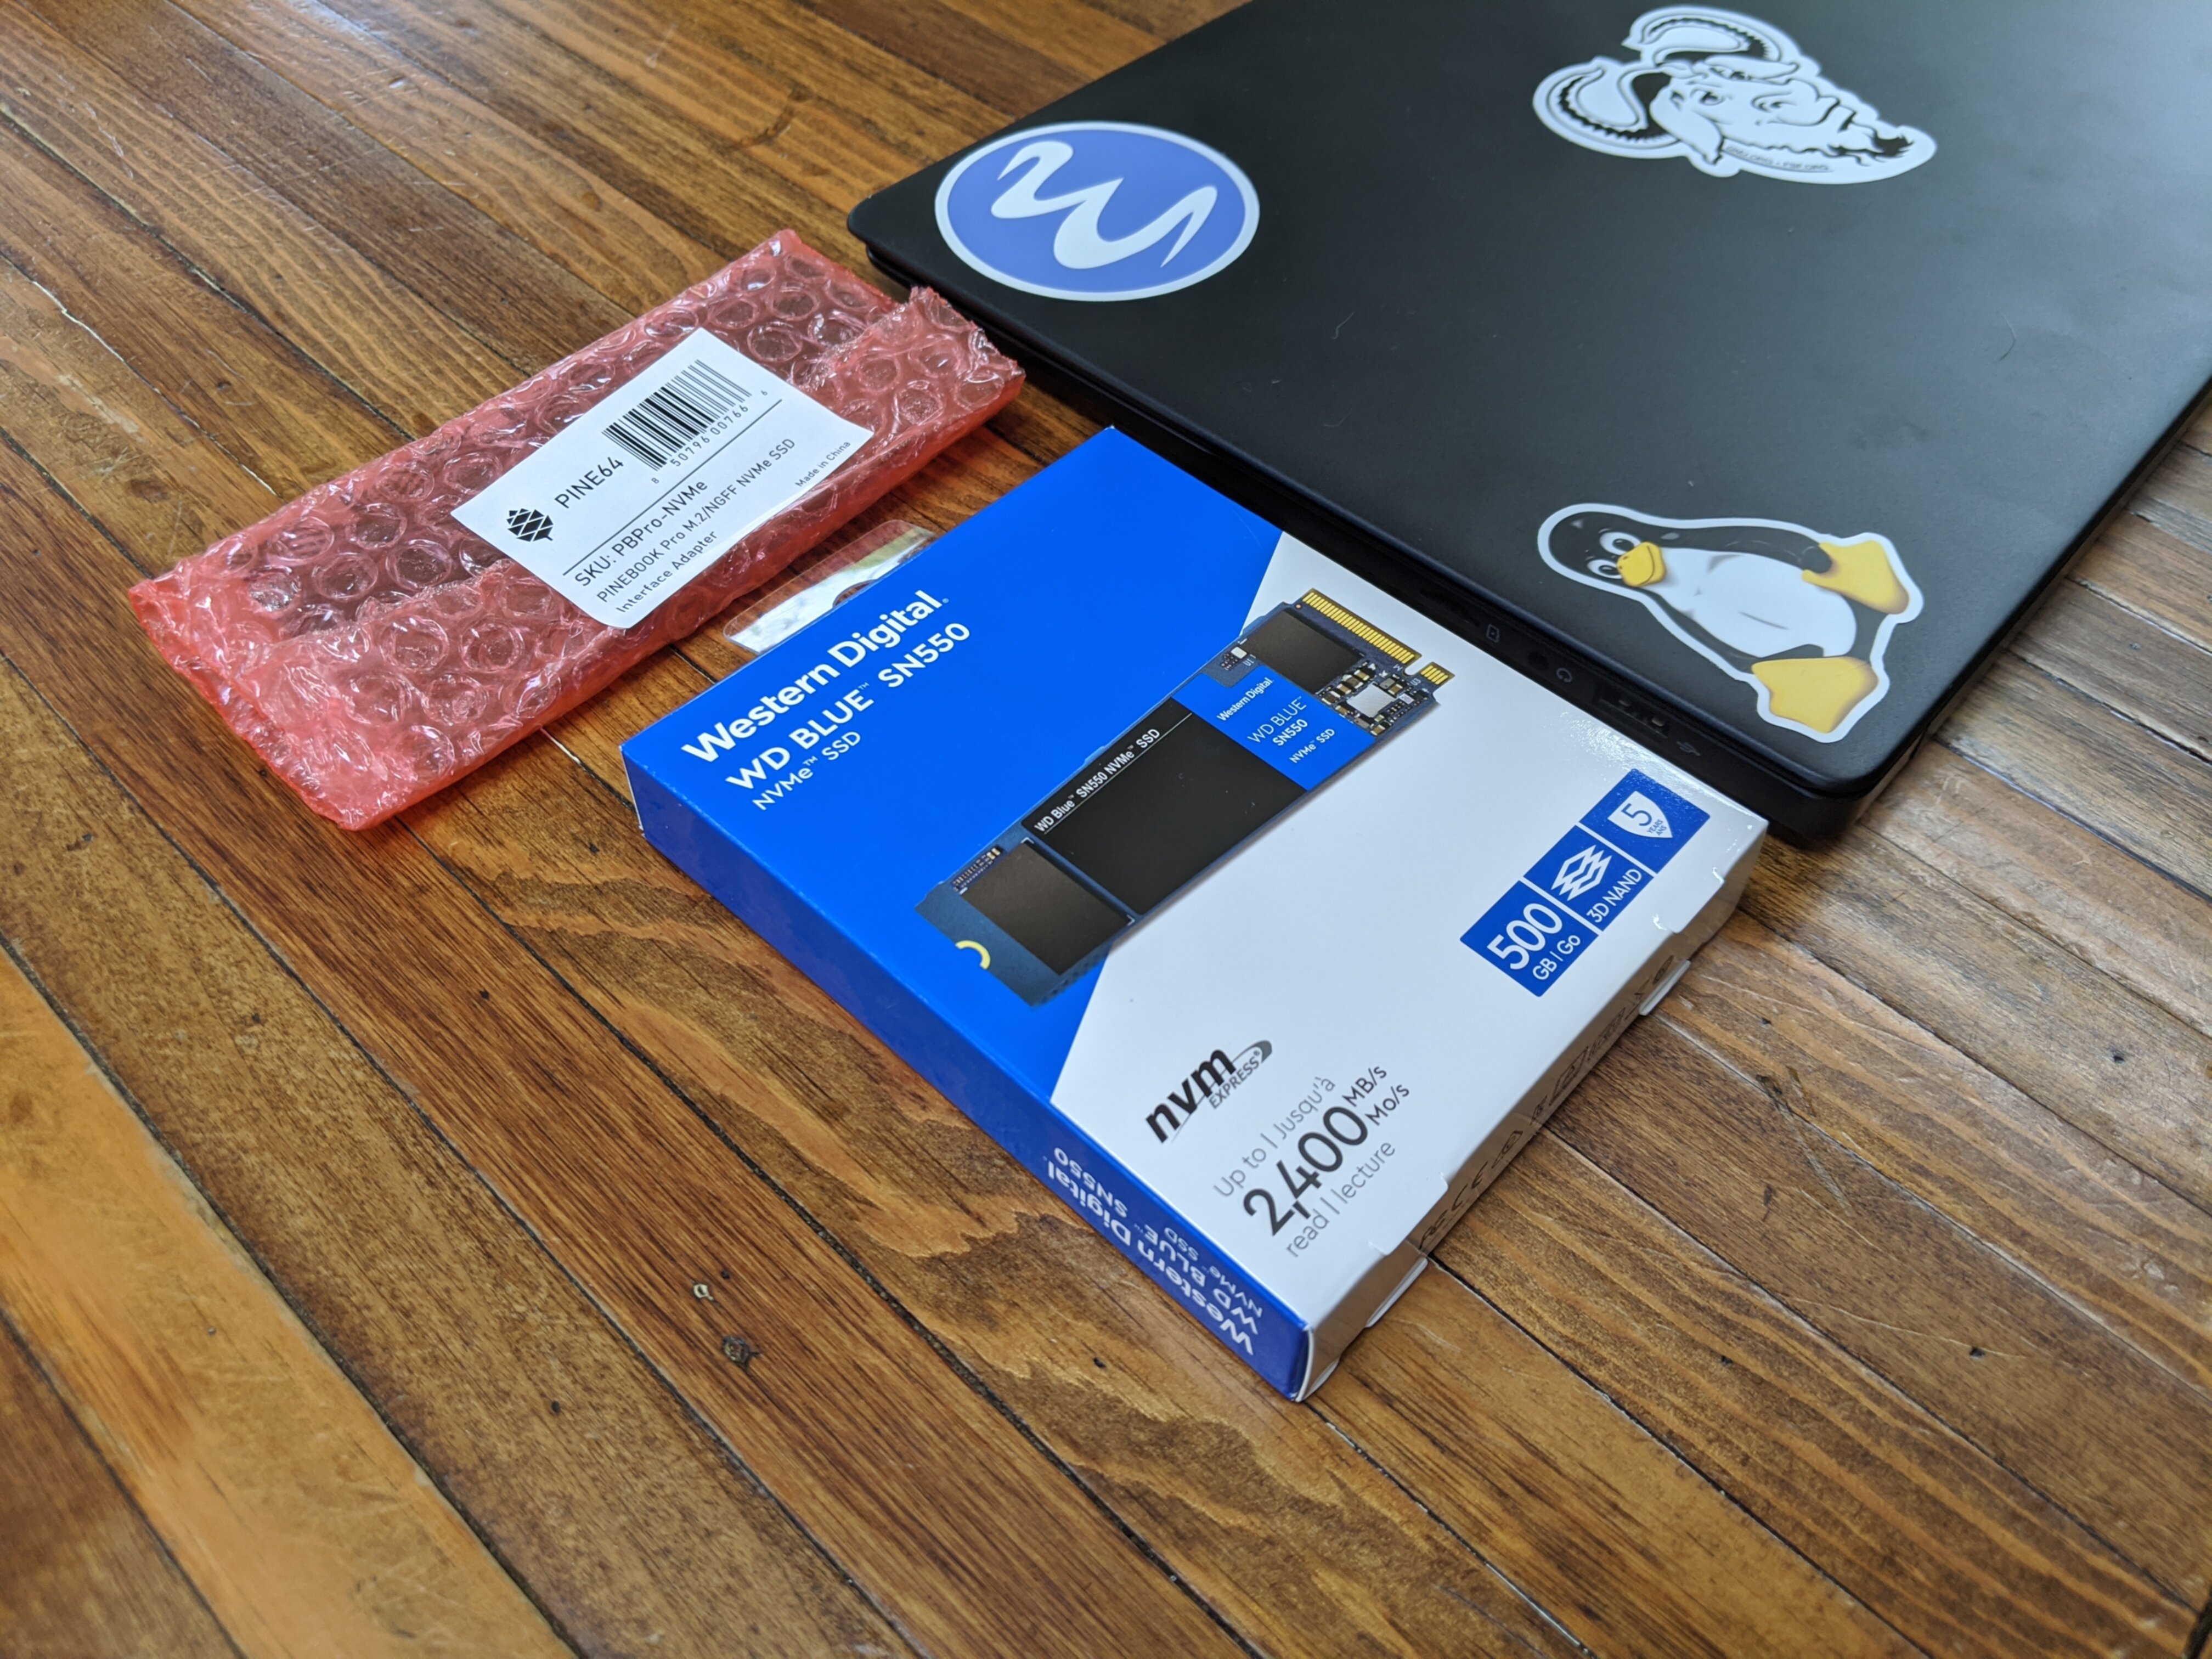
For the SSD I opted for a 500GB Western Digital Blue SN550 WDS500G2B0C. When I checked the forums and wiki there were reports that the 1Tb variant was SATA and not PCIe. Rendering the SSD incompatable with the PineBook. I'm happy to report that the 500GB variant is in fact PCIe. I had no real doubts considering the technicial specs indicated PCIe, but I still think it was worth mentioning.
Installation
 The NVMe adapter fastens to the right of the trackpad with three screws. I had to relocate the bypass cable to accomodate the footprint of the adapter. All that entails is moving some tape.
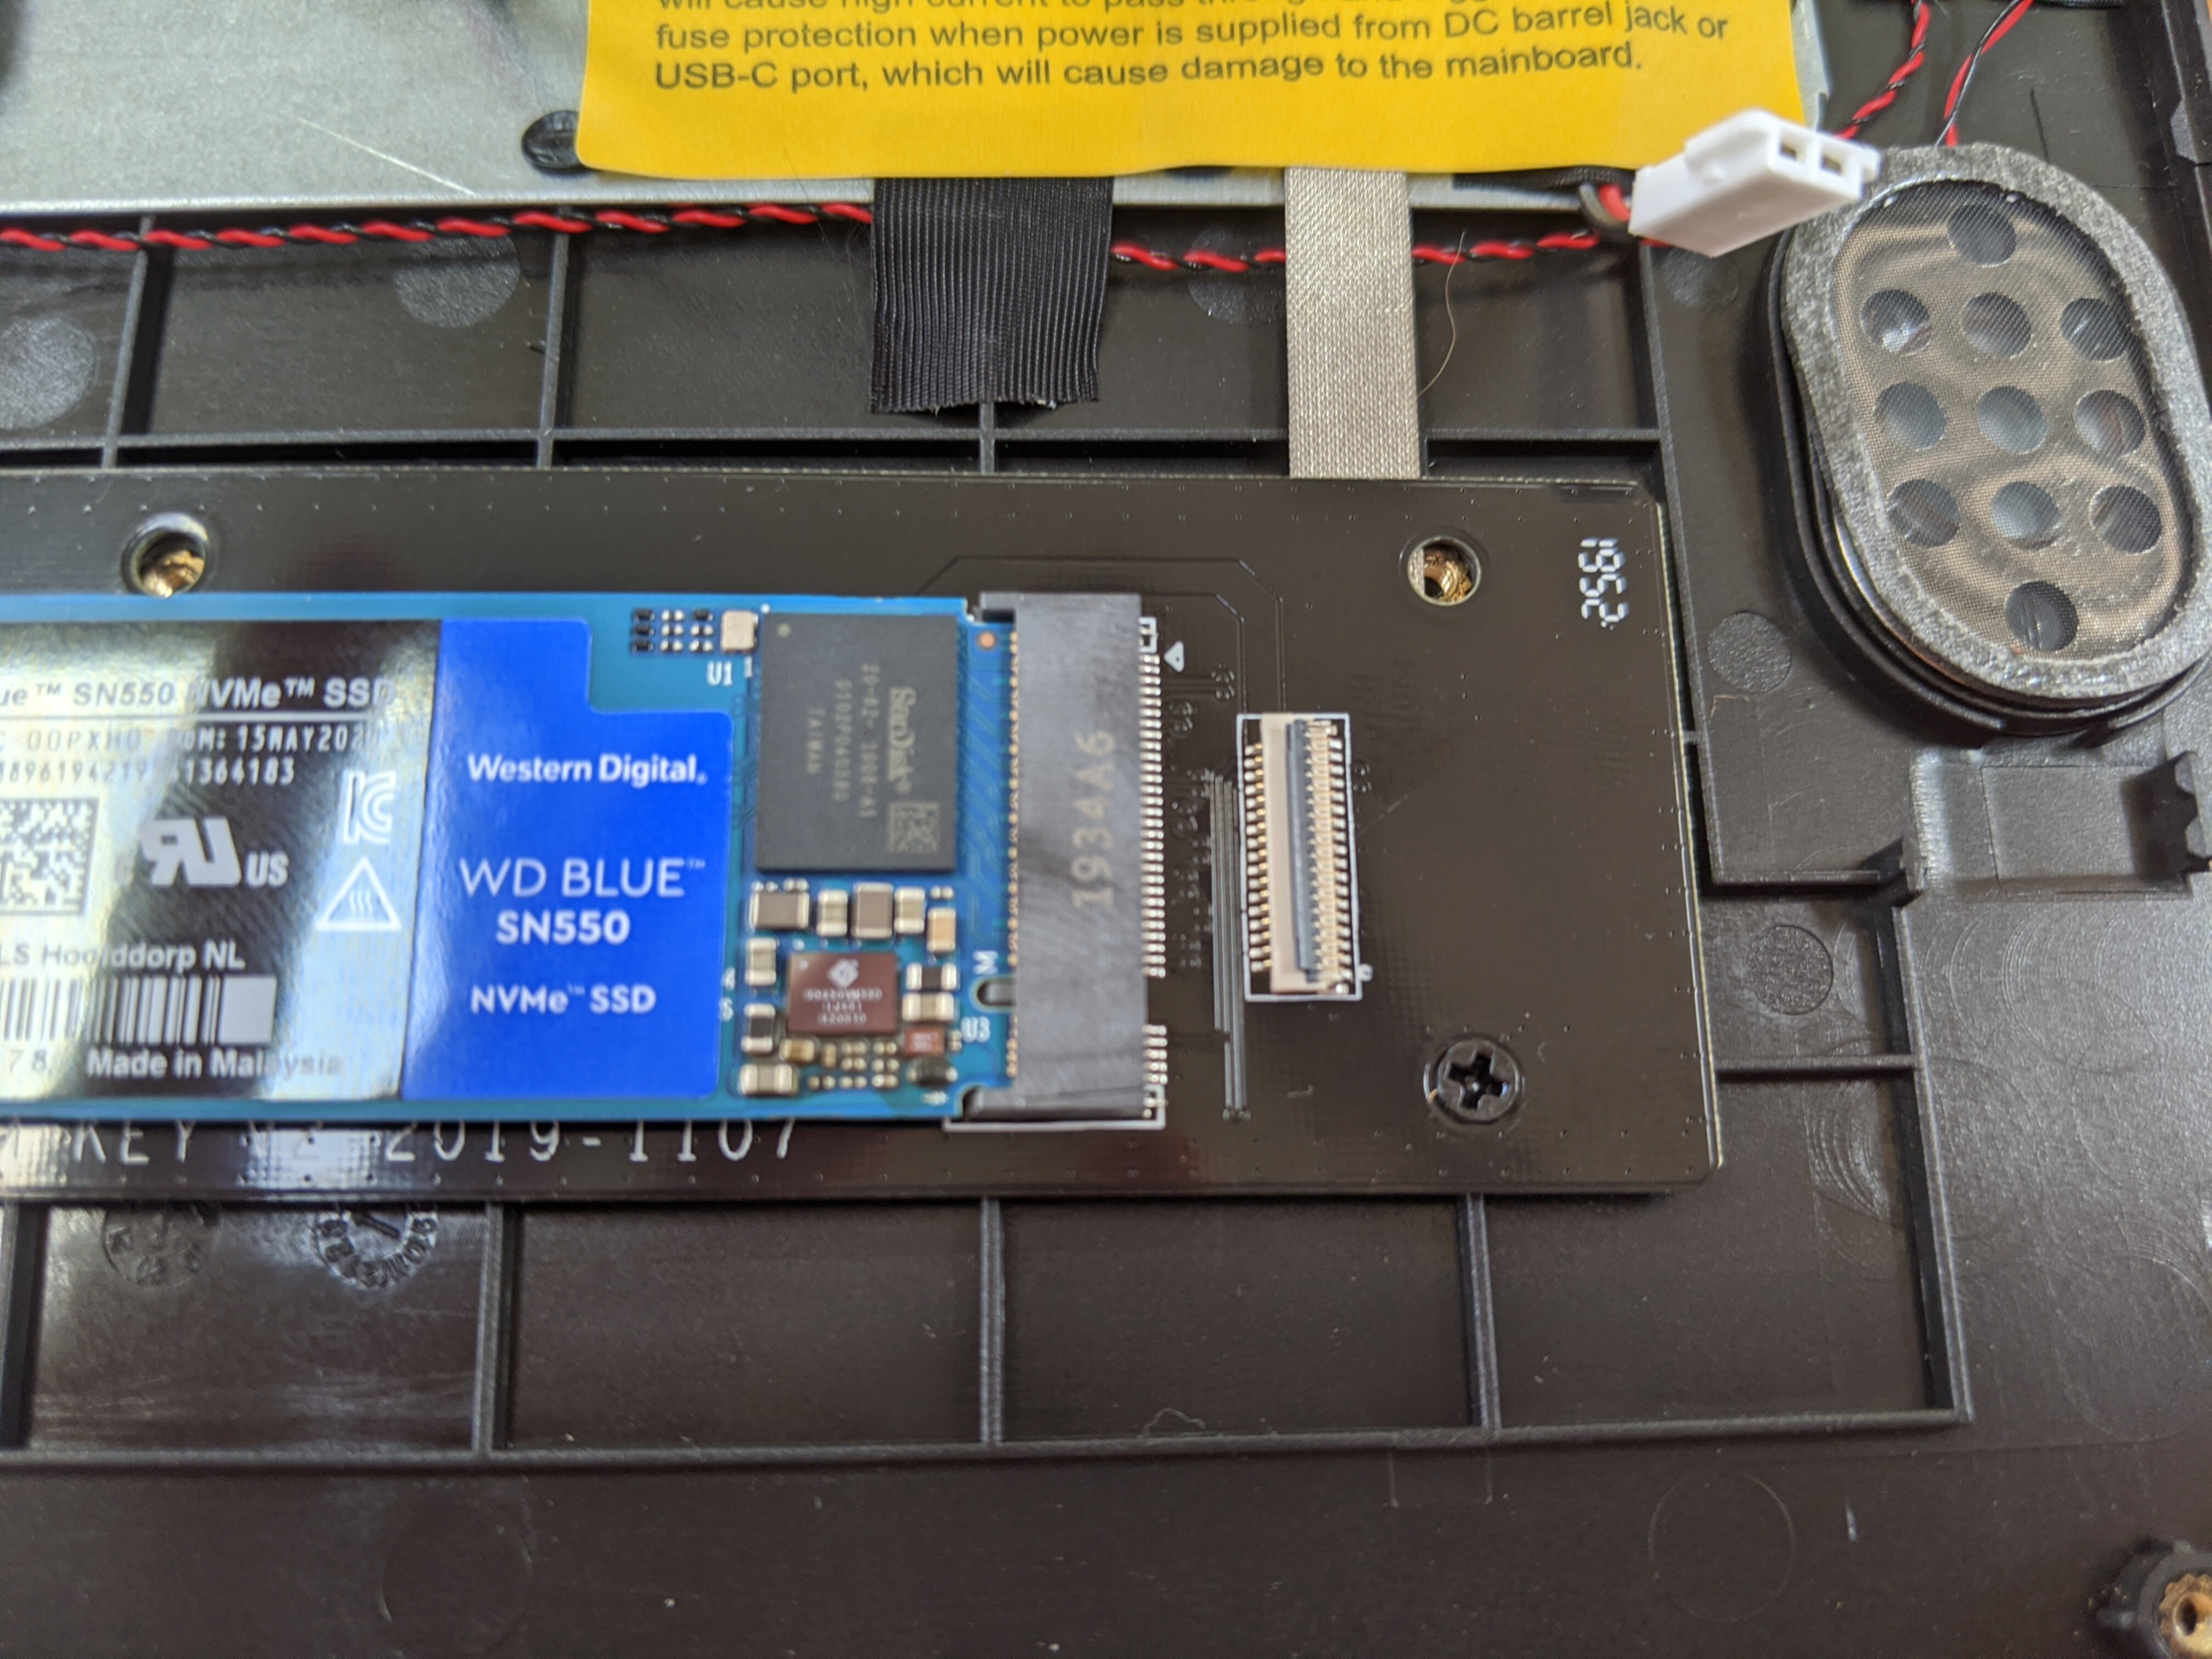 Be careful when screwing in the adapter. The trackpad ribbon cable slightly overlaps the threads. I had to pull back the ribbon cable when tightening the screw.
 The finished product.
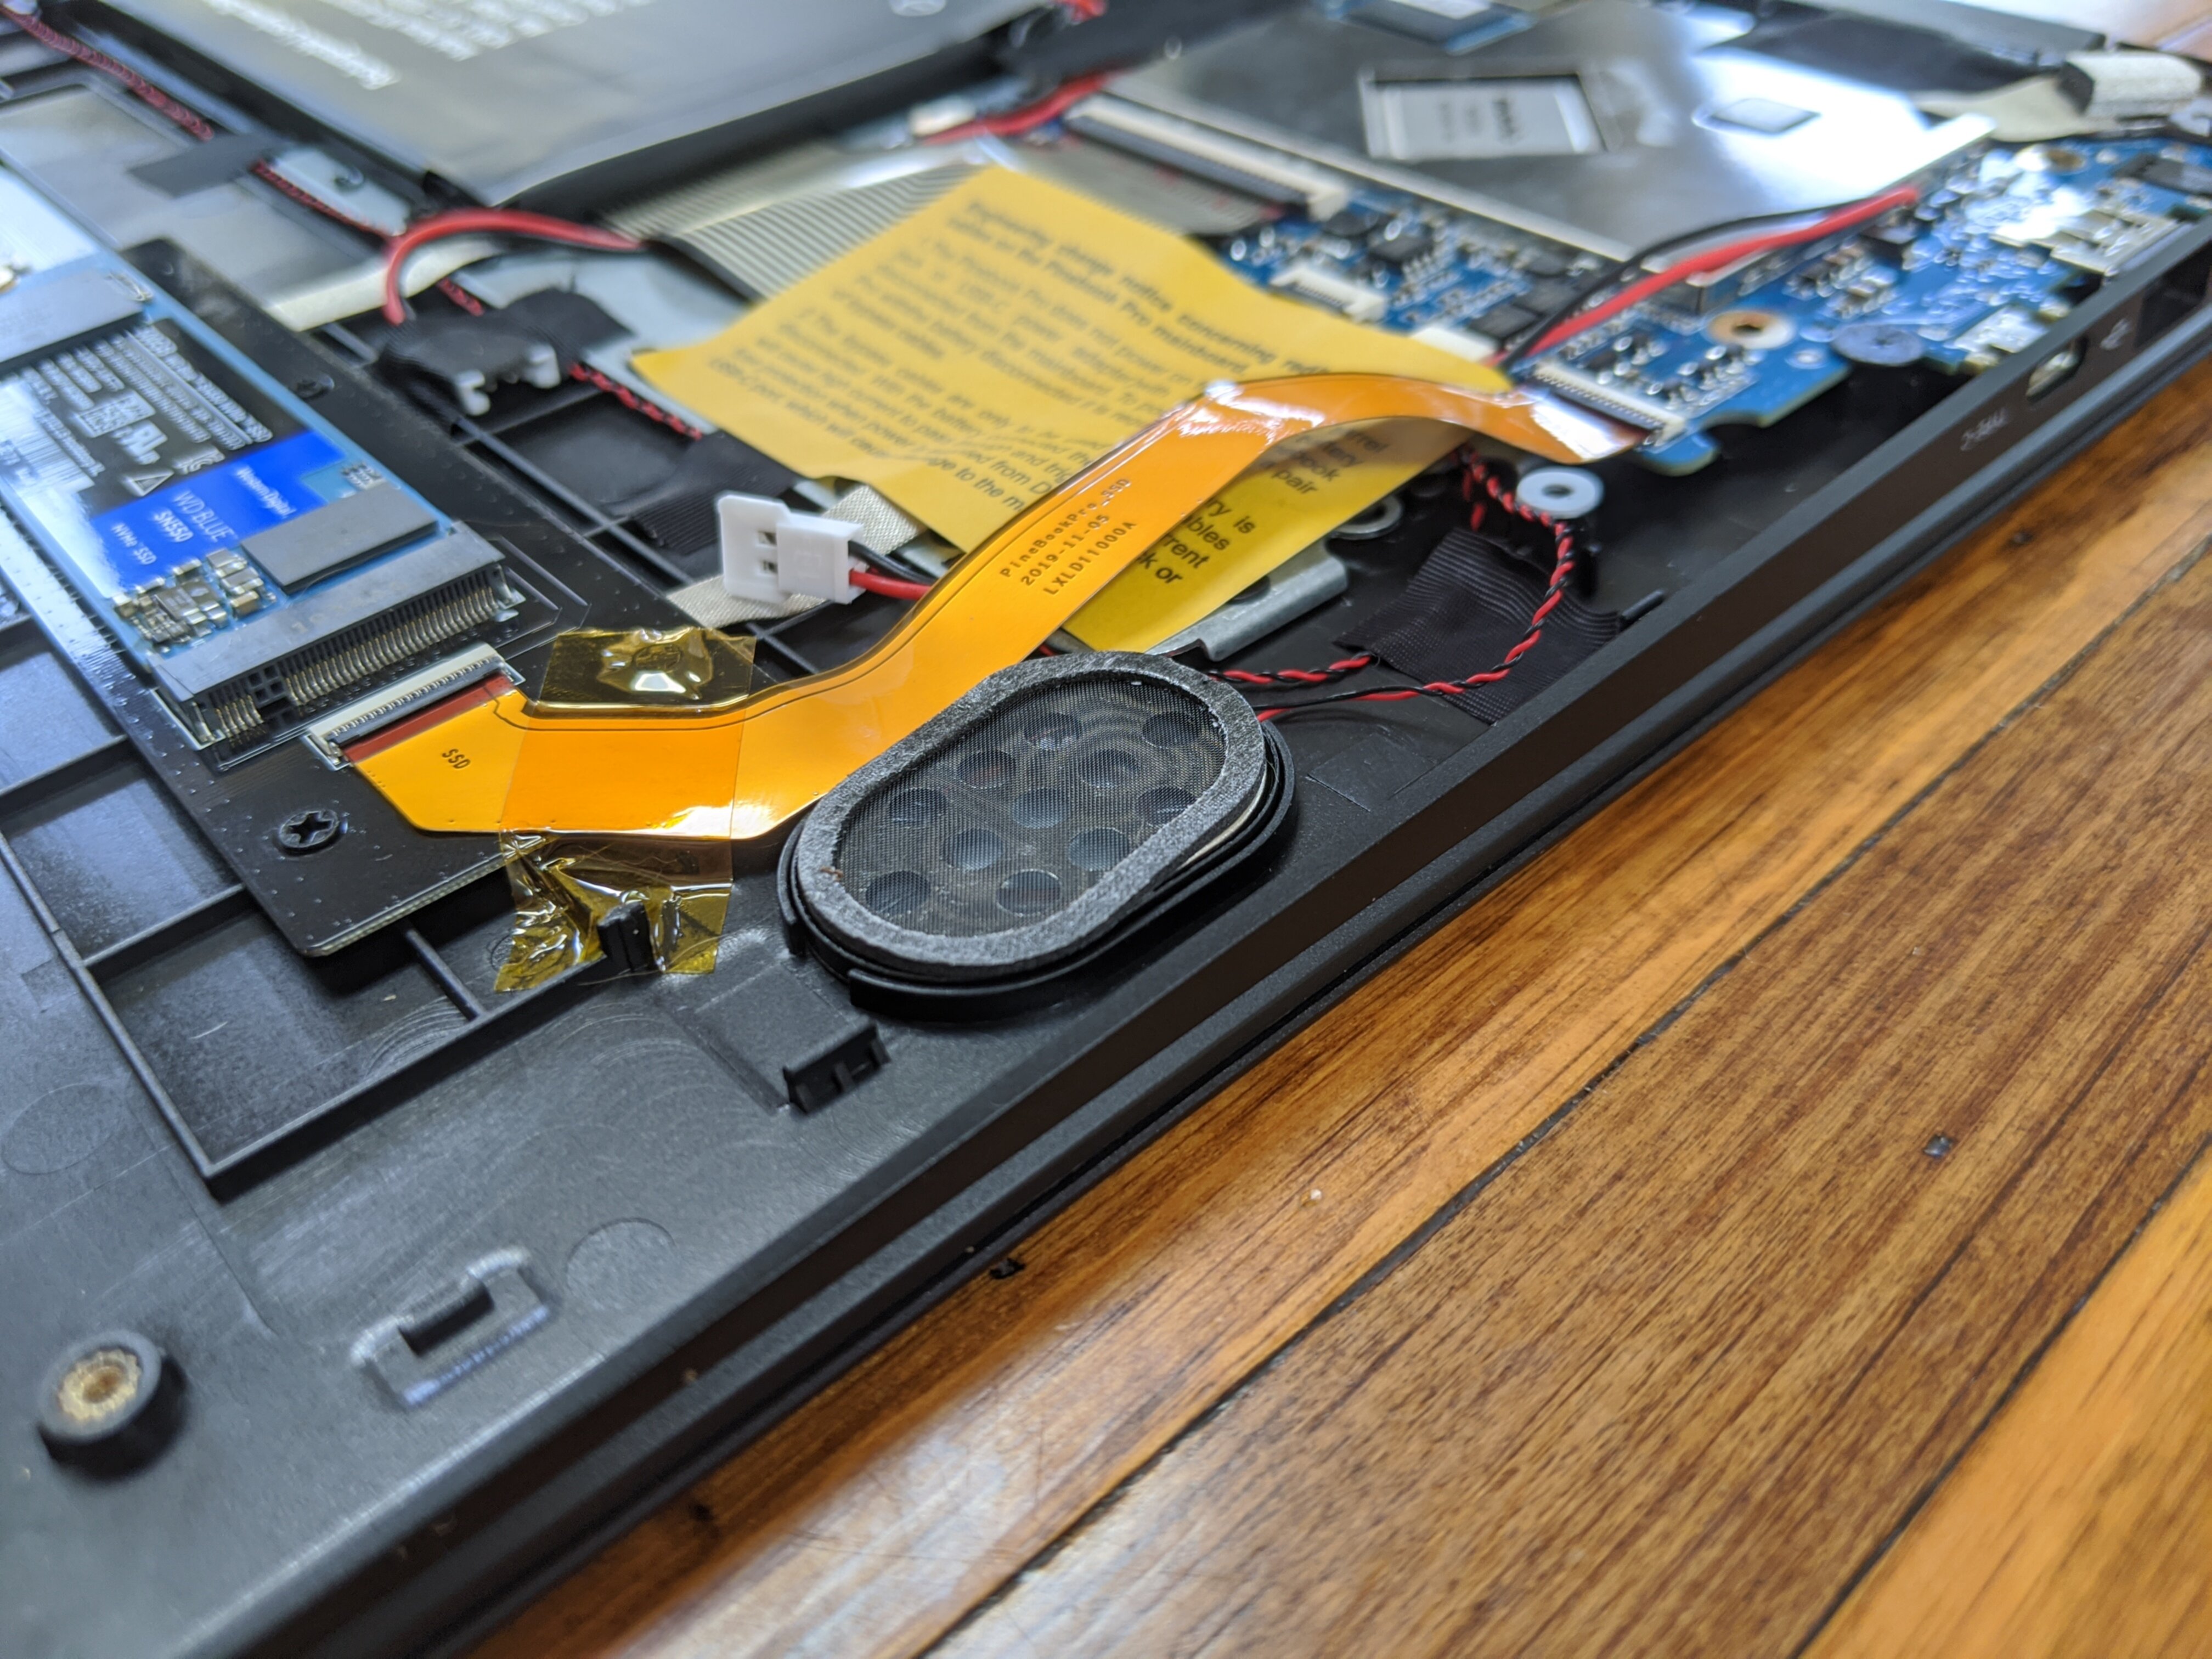 There was enough play in the adapter's ribbon cable that I ended up going back and securing it with kapton tape. Without the tape, the cable was coming into contact with adhesive on the speaker.
Post Installation
Validation
Once you've reassembled the laptop go ahead and boot up the machine and verify the NVMe is recognized by the OS.
Running lsblk or ls /sys/block will be sufficient for most. If you're running a custom kernel and experiencing issues, double check that CONFIG_BLK_DEV_NVME is enabled.
Power Managment
It's recommended to enable NVMe power savings. Before enabling, I did notice the bottom of the laptop (where the NVMe is installed) was rather warm to the touch during suspension. I've yet to suspend my PineBook since, however I suspect the NVMe will now run cooler.
Tags: hardware pinebook